The Design
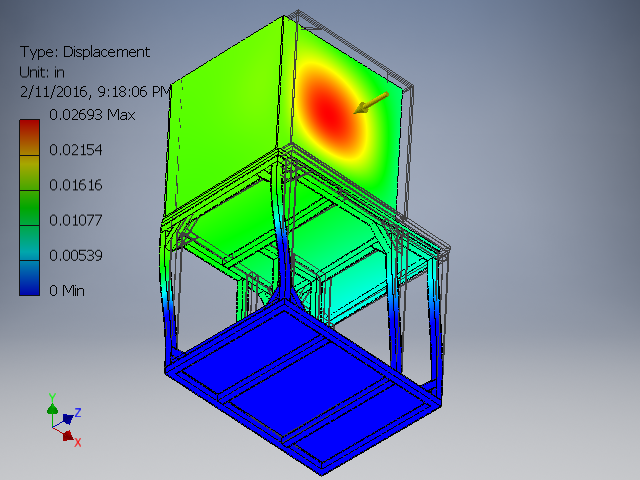
The stand for the tank is custom made from 1.5″ square steel tubing that is 1/8″ thick. I used Autocad Inventor to design the stand and did initial stress analysis to make sure everything would hold up. The following image is a stress analysis with a 2,000lb force directed at the bottom of the aquarium and a simultaneous 300lb force into one side. The reason for this test was to show the outcome of a somewhat large person falling into the side of the tank
The model should be fairly accurate. I have all the correct bracing on the main aquarium. As you can see, there is less than a .02″ deflection of the stand itself. The model exaggerates deflection in the image by 1x to help show where it is occurring.
The stand has a 3/4″ plywood shelf on the bottom and a layer of 3/4″ plywood on the top directly under the tank. There is also a shelf hanging from the upper frame to support the closed loop pump. There is a lot of equipment to fit into this stand, so it was necessary to do a lot of planning to make sure everything would fit.
The Build
With the exception of buying PVC adapters and a 40 gallon breeder for the sump, there really hasn’t been any construction on the new setup… until today.
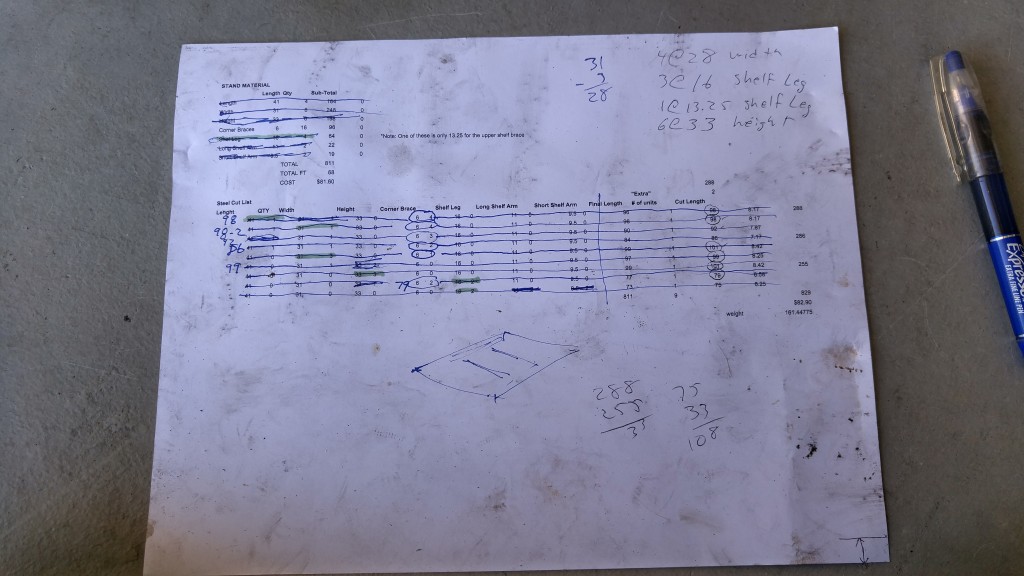
This morning I woke up and headed over to Wylie Steel. I used the design that I worked on and a rather odd looking spreadsheet to calculate all the cuts I would need to build the stand. The steel is sold in 24′ lengths and after all my manipulations, I discovered I would need the better part of 3 pieces to build the stand.
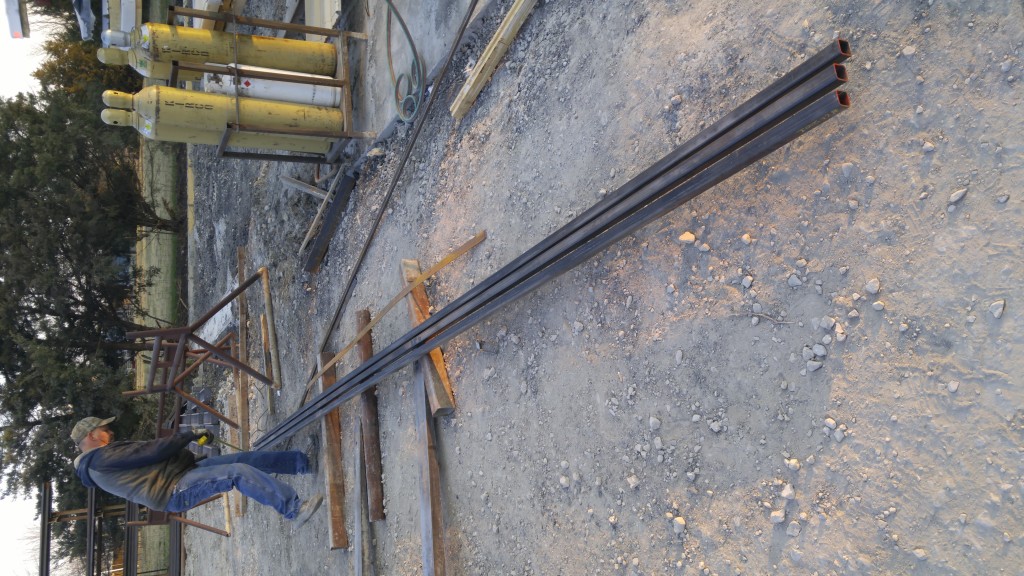
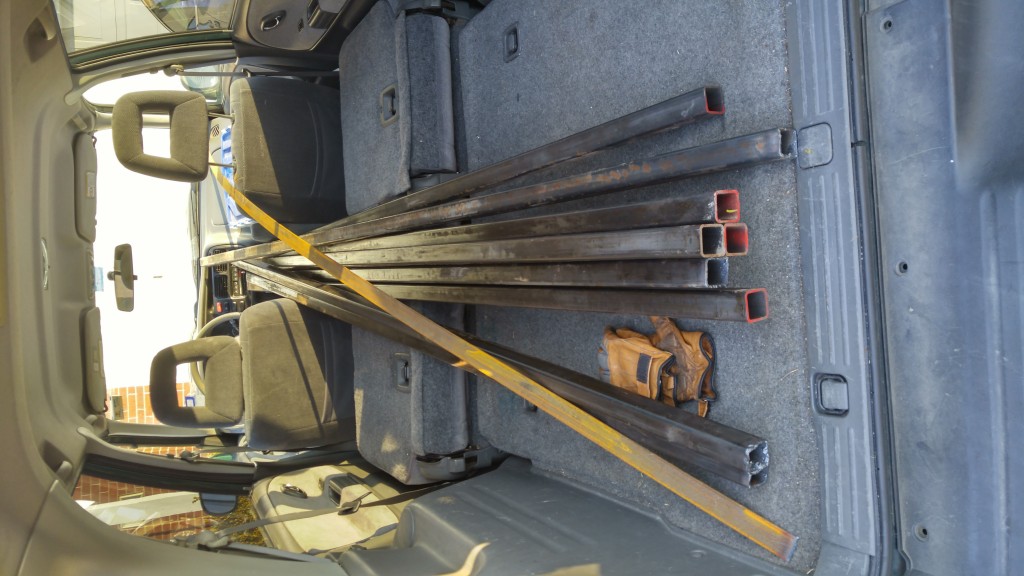
The downside to purchasing a 24′ piece of steel is having a vehicle that can only carry 9′ lengths. One of the calculations I had to do was to make sure I could get the pieces cut down to what would fit into our small SUV. I had the guy make 2 cuts out of each piece of stock and within a few minutes we had a car load.
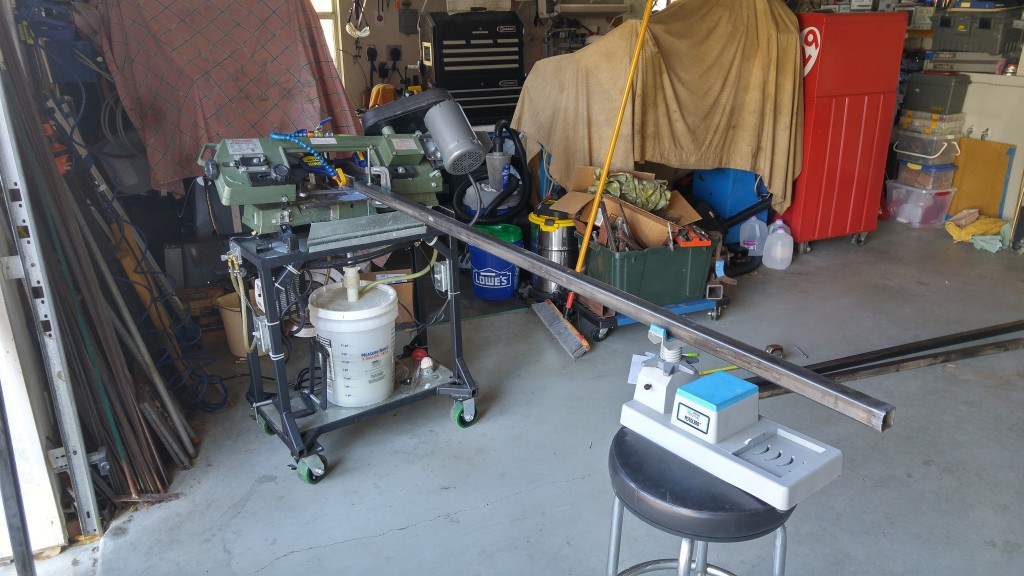
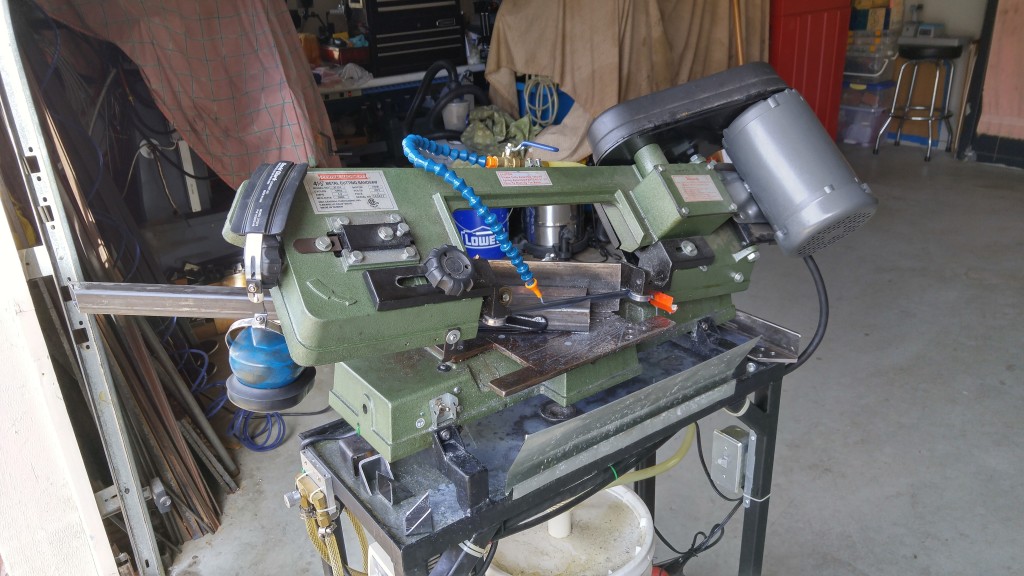
I then drove over to my buddy Will’s house. He’s been welding for quite some time and has made some pretty impressive stands for other projects. He has a highly modified metal cutting bandsaw that has a built-in water-cooling setup. I marked the pieces while he cut.
Unfortunately we only had a short time to work on this the first day, so we got 10 pieces cut. We might of had a few more cut, but we broke the blade and had to replace it part way through.
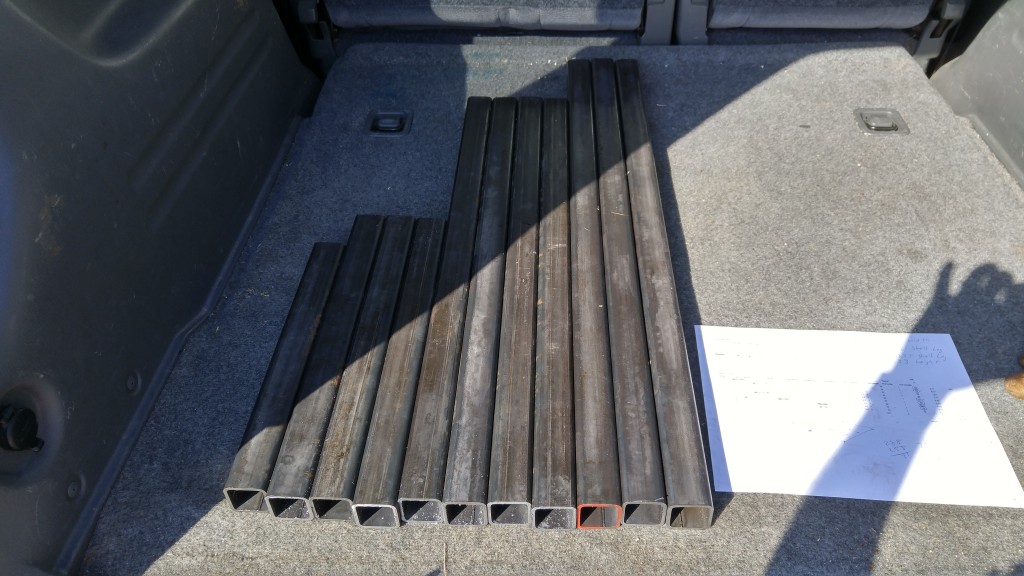
The little sheet of paper in the last picture was my cut list I was working from. The hardest part was keeping up with what cuts from each piece I had already made, and then tracking which pipes started out at what lengths.
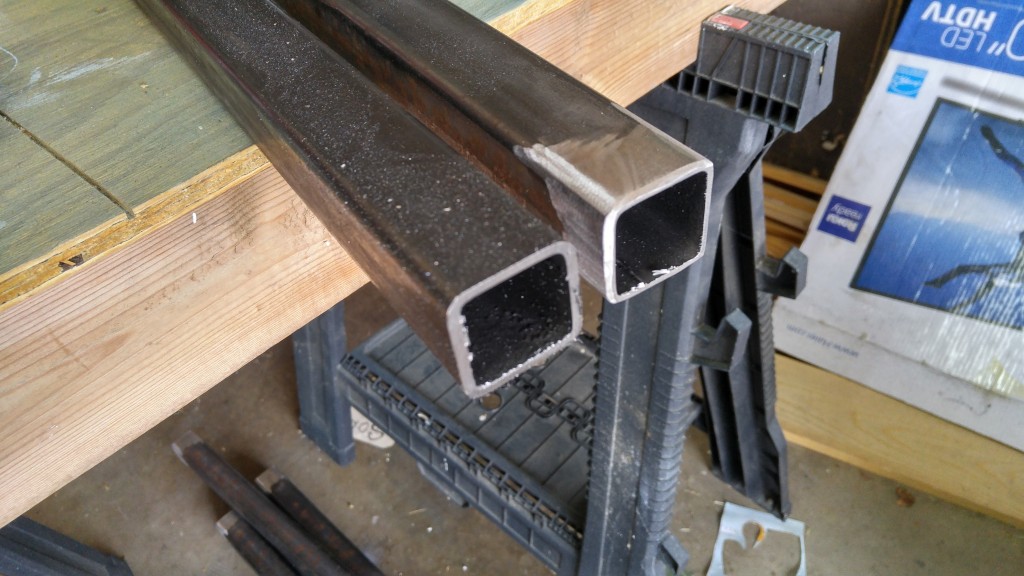
Once I got home, it was time to start the prep work for the welding. I setup my saw horses and put my nice little vise on it and got to work. By the time I finished up with the 10th one, I had a nice little rhythm going.
My coworker and I both had to work around our individual families, so most of our work was done in 2-3 hour stints on Saturday afternoons.
It took 3 sessions to get a majority of the cuts done. It was a very satisfying day when we finally had most of the cut list marked out and the main pieces cut.
One of the nice things about my coworker’s setup is he had his band saw modified for doing the 45 degree cuts. This sped things up greatly by allowing us to do perfect cuts right away.
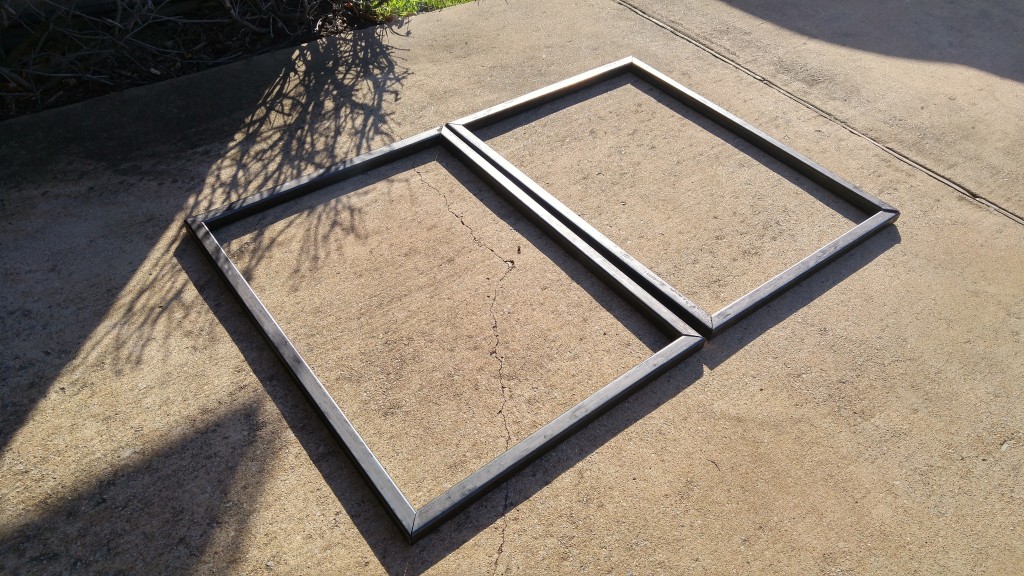
After two 4-hour days of welding, we finally had a majority done. The shelf for the closed loop was welded in place and all the legs and main braces were done. We welded the top and bottom first, followed by adding the legs and all of the cross braces. Lastly we installed the shelf. We used the bottom as a jig to align the top. This helped ensure they were as close to identical as we could make them.
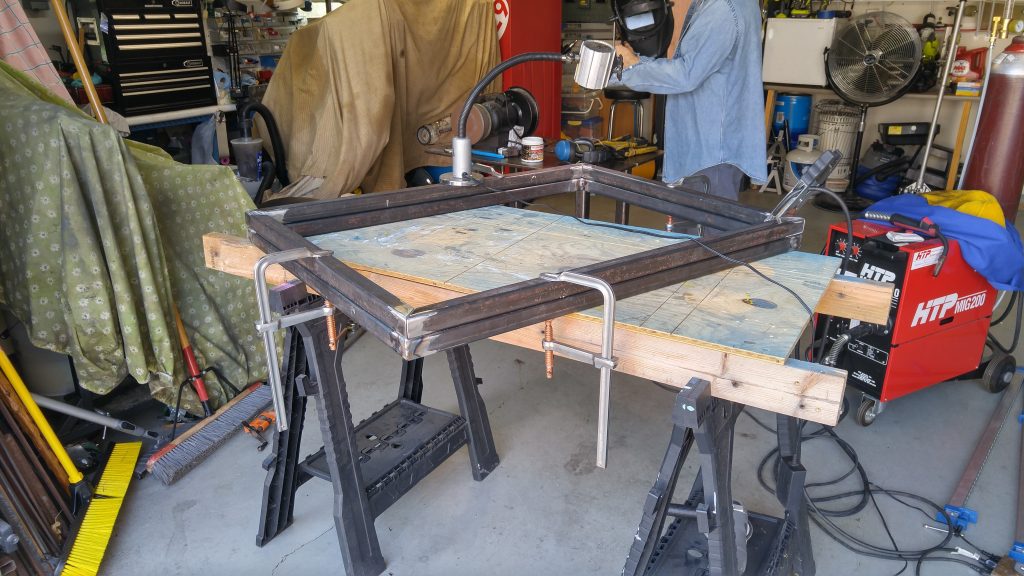
By the end of the second day, we still had the corner braces to weld into place, but the stand was already supper sturdy. Will is not a very large man, but this stand makes him look even more diminutive.
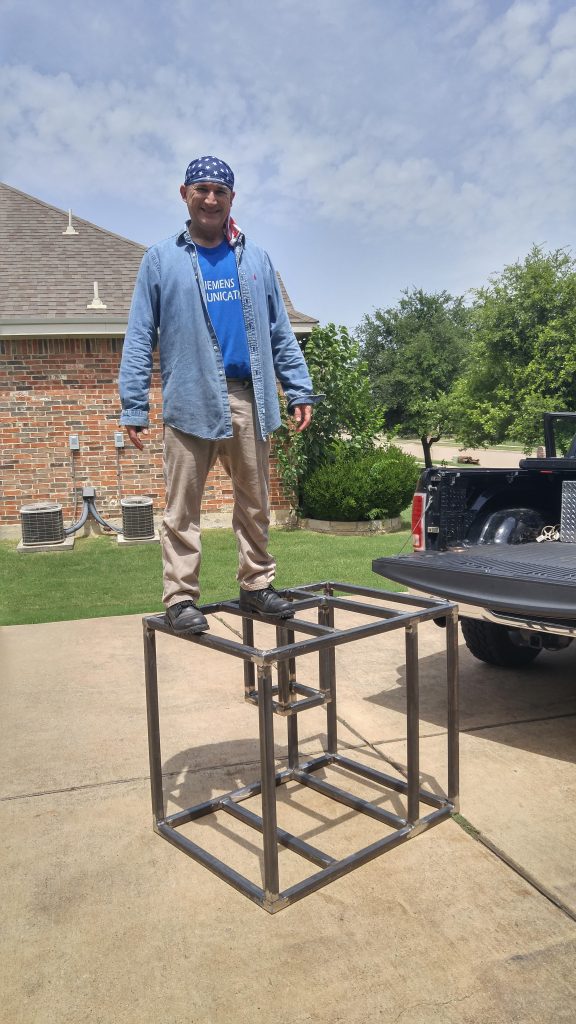
Will had to climb into the stand a few times to weld some of the beads, but he had plenty of room to move around once inside.
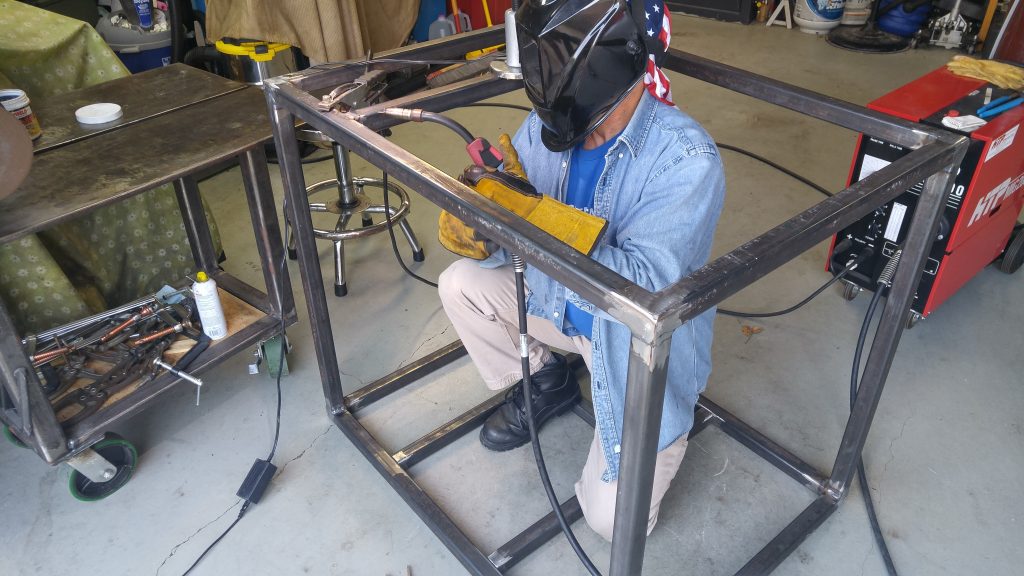
Here’s a short video as he was welding one of the beads on a corner.
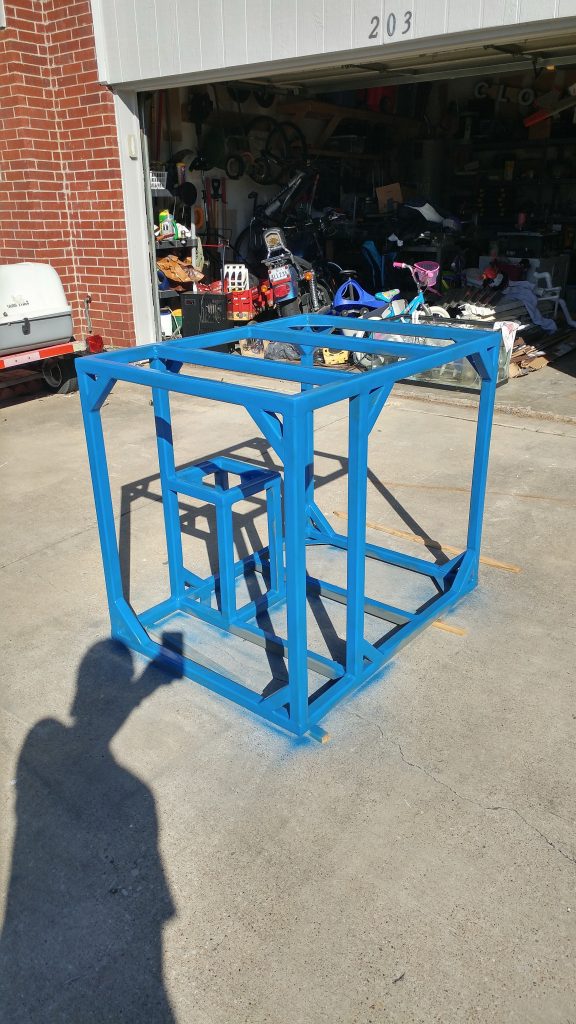
Once the stand was fully built, it was time to paint! I gave it two coats of etching primer and multiple coats of Blue enamel spray paint. The wooden parts of the stand got multiple coats of exterior grade primer followed by multiple coats of spray enamel as well. Here’s a picture part way through the painting process. The stand is upside down in this photo. At this point, I got tired of dragging the stand around and bought another furniture mover to put it on.
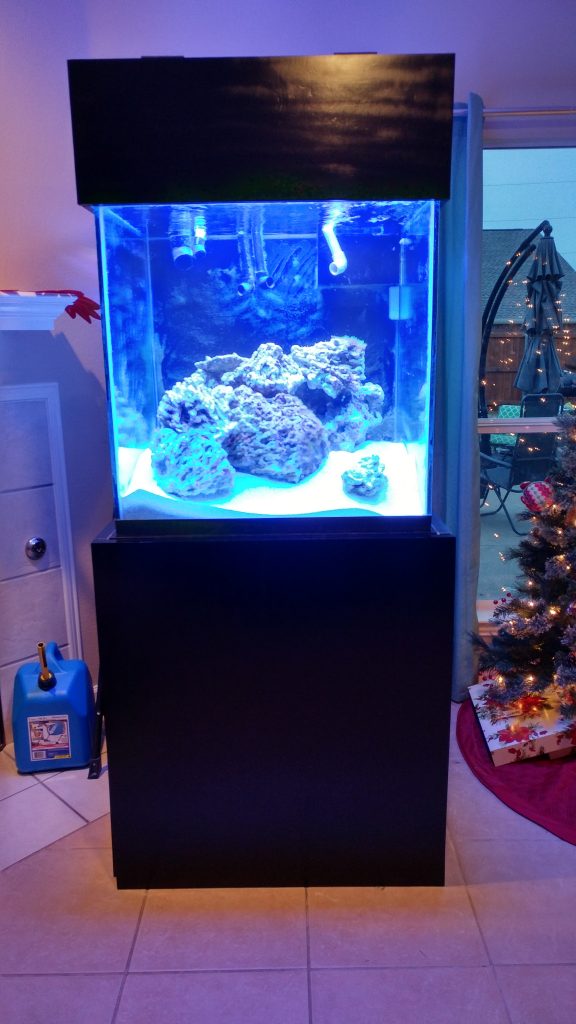
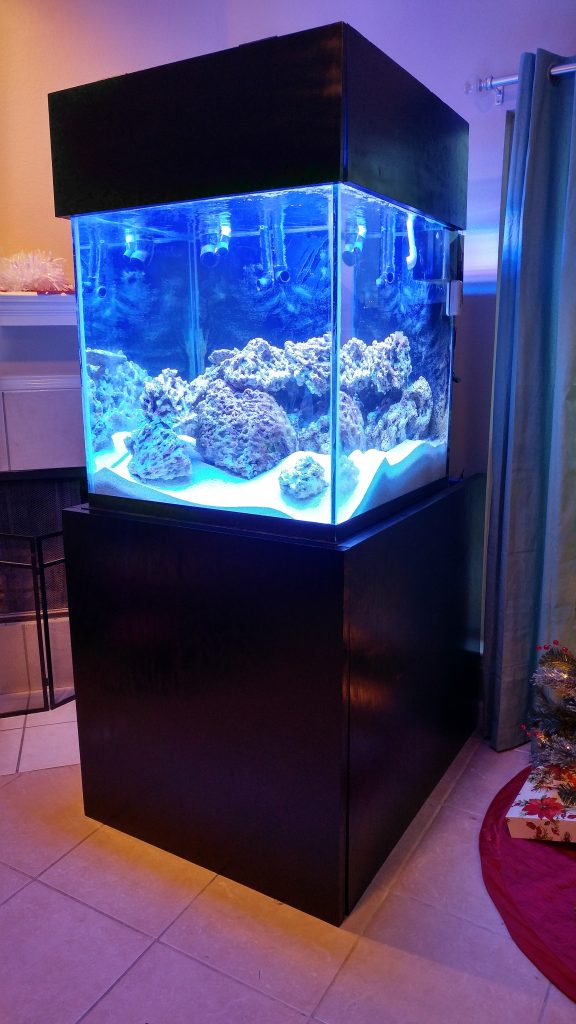
Finally a few pictures of it all finished with the sides on it.