Minimal Progress

It’s Easter weekend, which means time with family. It’s also gotten nice and warm, which makes some of my other hobbies more enjoyable.

The guy helping me with my stand has also been busy, so we haven’t had a chance to start welding the stand yet. Most of my other tasks I have left are reliant on the stand being finished, so until that happens progress has pretty much halted.

I will be working on trying to get the pH calibration code working, so look forward to updates on that.

Little Finishes

Finally got the rest of the steel pieces cut for the stand. 16 6″ angle braces to stiffen up the corners. I now have to grind and clean up all the edges on all the pieces. The next time Will and I get together, we will be finally welding.

0312161700_HDR

I also managed to finish modding the CA reactor. The original design of the reactor had the return line from the re-circulation pump simply going to a hole at the top of the container. Most of the new reactors I see on the market have a PVC piece in the middle of the reactor that forces the water through the column of media. I decided it would be easy enough to make this change, so I did. I have one last mod to do on the reactor and that will be to add plumbing for the in-line pH probe.

0312162022_HDR

Speaking of pH probes… I received my package from DFRobotics with my two professional grade probes in it. I was able to get them wired up and I put them into a test environment in the garage with the temp probe. You may have noticed the main page of the site now shows graphs for the last 24 hours. The Pi code has been updated to send the current stats to my web server every 5 minutes. I’m debating trying to write an Android app to pull down the raw data and format it into a pretty display for my phone.

0312160836_HDR

Now that all of the electronics have been built, I can finish up the box housing the electronics and permanently wire a few things.

The new media for the RO/DI filter finally came in. I was able to get the filter mounted into an outside storage unit. Just need to add the tanks and plumb everything in now.

0313161617_HDR

The live rock is still doing well in John’s tank. The bad thing is it looks like the rock does have some Aiptasia on it. I’ll have to deal with that after I get the tank cycled.


Lots of little changes

Made a lot of progress on little parts of the tank this weekend.

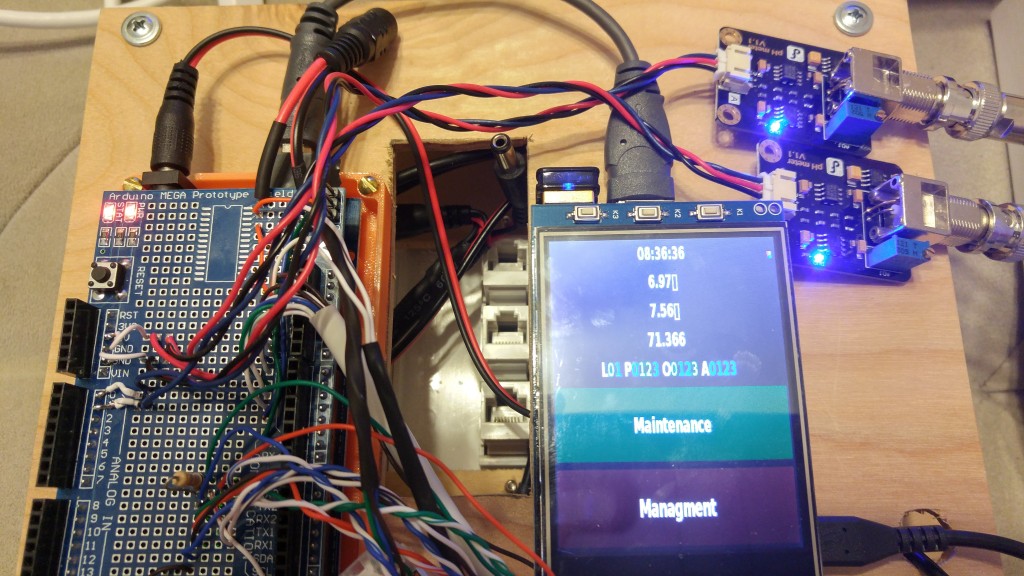
I started off the weekend by adding a closed loop to the communications on the electronics. The Arduino can now send the current state of any output as requested by the Pi. I added a new text label on the display that gives a color based representation of the current outputs. This display gets updated once a minute. The end goal is to have all this data pushed up to my website once every 5 minutes to be permanently stored in a database.

I also finally got around to color coding the ‘other’ outputs on the Pi. Lastly I added names to the outputs. All of the names are stored in the aquarium.ini file with the default states. I have one weird bug in the code where just 1 of the outputs is not turning on at startup even though the Pi shows it as being turned on. This may be something in the Arduino code, but if I manually turn the output on, it turns on.

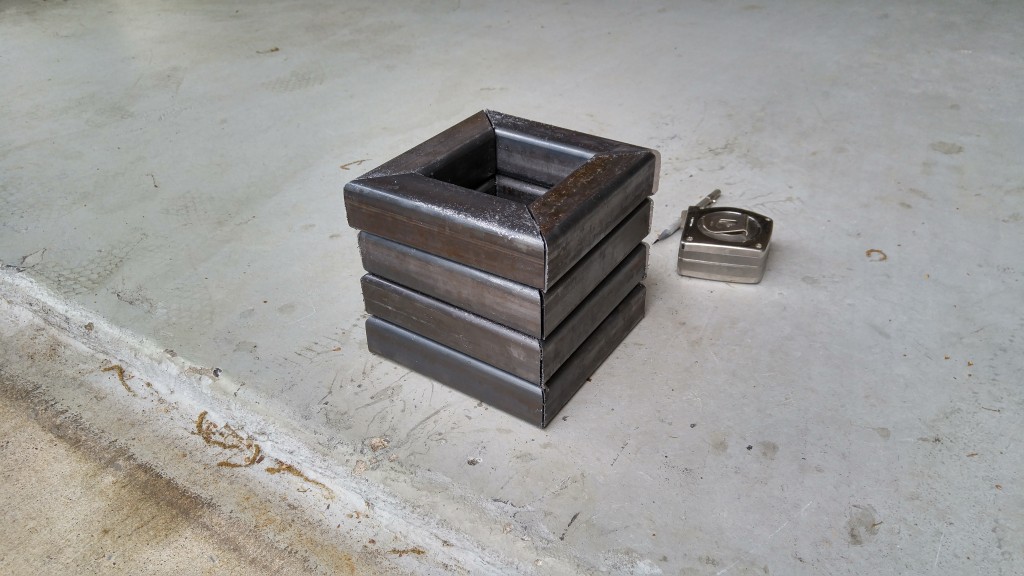
After working on the code for a few hours, it was time to go work on the stand some more. We were able to get all except for the 6″ corner braces cut up. It should only be another hour or so of cutting and then we’ll be ready to weld.

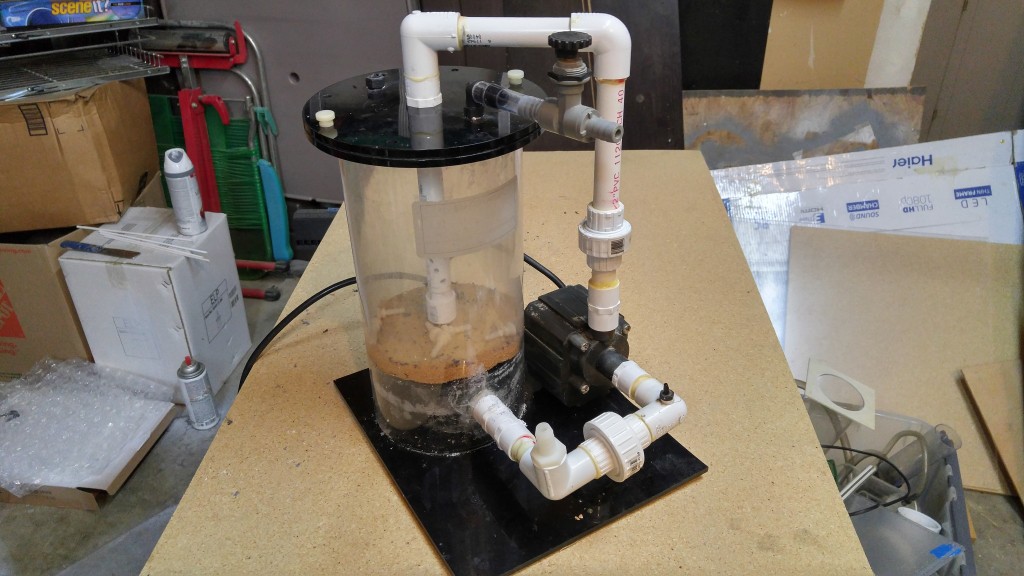
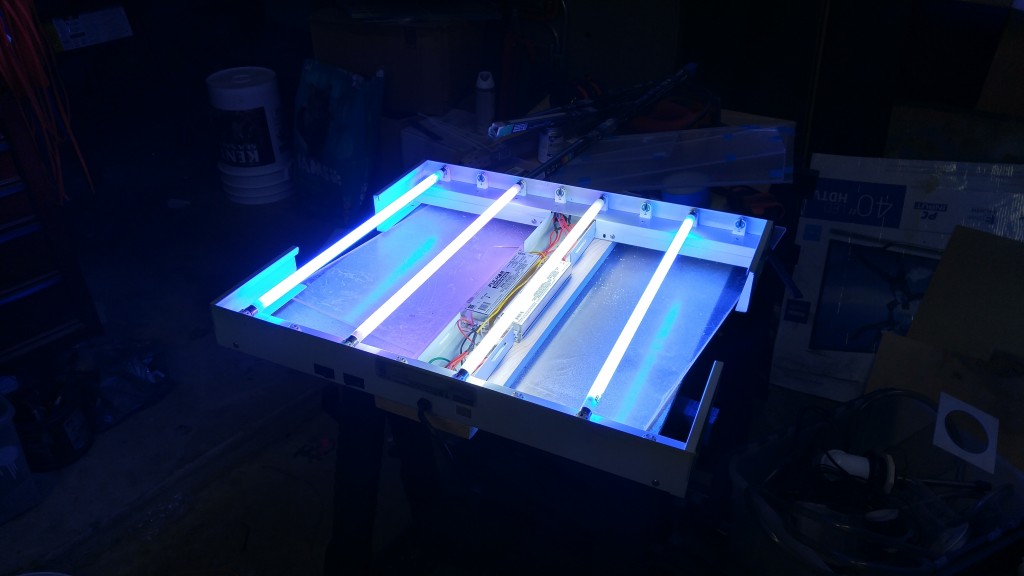
I spent most of Sunday cleaning up the sump and reactors. Then I got to work on building the canopy. By the end of the day, I had the light finally working. I still need to build the rest of the canopy and wire in the relay, but at least I know the ballasts work.

0306161956_HDR

We hope to get the rest of the pieces cut out one evening this week and then maybe get it welded up on Saturday. Were crossing our fingers things go as planned.

I did get a response from glass-holes.com about the overflow design I want built. he sent me a picture showing me that it looks like my design will work. Now its just a matter of paying him and getting them built and delivered.

image1

I did ask him to make one final change… I saw on reefcentral that someone had built this with all three overflow holes in the middle of the box. After seeing that and thinking about it, I decided it would work better that way. Looking at the picture it looks like he already cut the holes, so I don’t think he’d be willing to re-cut the bottom plate for me. I can still use it this way, and it is the way I originally designed it anyways. I can’t wait to see the final product.