Slow Progress

Not a lot of work got done on the tank this weekend. I think my garage is even dirtier than when I started this process with more piles of ‘parts’ everywhere. I’ve been slowly acquiring PVC parts as I design various phases of the setup.

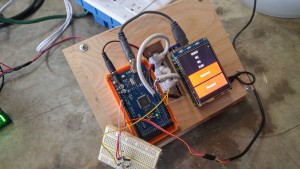
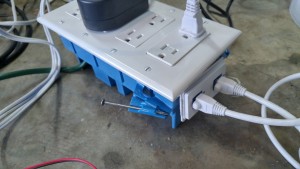
I received the perfboard for the Arduino and started soldering up the connections. I only got a few done.

We made more progress on the stand. We worked for about 2.5 hours. We got the rest of the legs cut and we got the pieces for the shelf cut. We had to reconfigure the bandsaw for the 45 degree cuts. We found that it took almost a good 10 minutes to setup, cut, teardown each 45 degree cut. I think we’re looking at almost another full day’s worth of work to finish cutting the rest of the pieces.

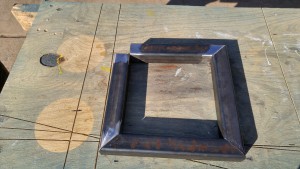
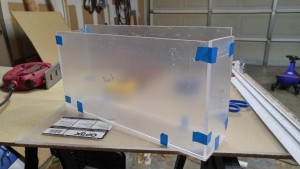
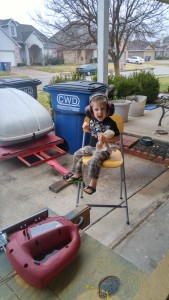
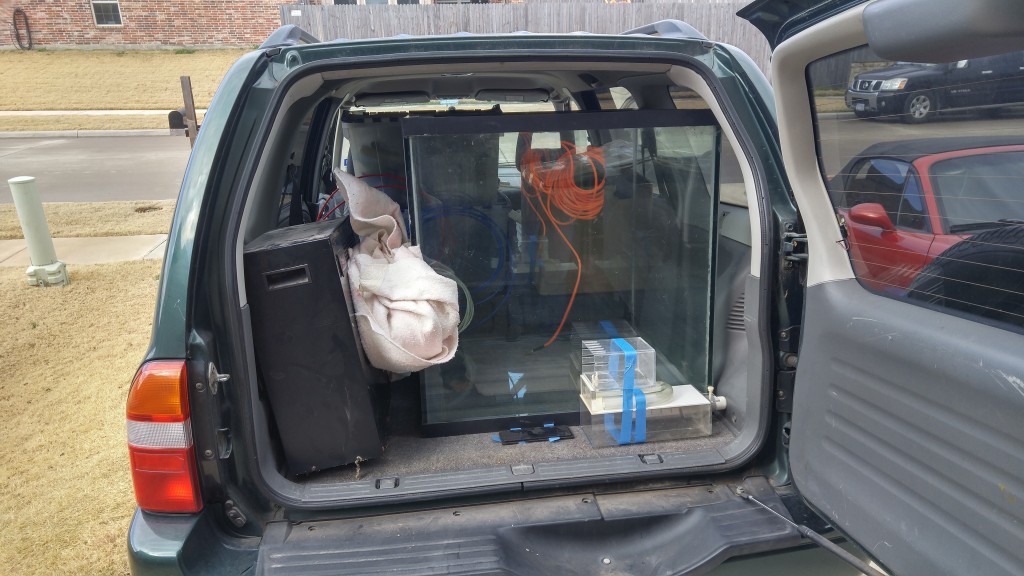
I took the kids to Lowe’s on Saturday to do their ‘Build and Grow’ workshop. The kids had a blast. Afterwards we walked over to the Acrylic section and I found that they had .22″ Acrylic in 2’x4′ pieces. I bought one and we managed to cram it into the backseat of the car with the kids. Once home, I started working on cutting the pieces for an inner and outerbox for the BeanAnimal overflow. I don’t have any Weldon 4, so I had to order that before I can finish gluing up the box.

Sunday was spent working on the pool, so no progress was made on the tank.

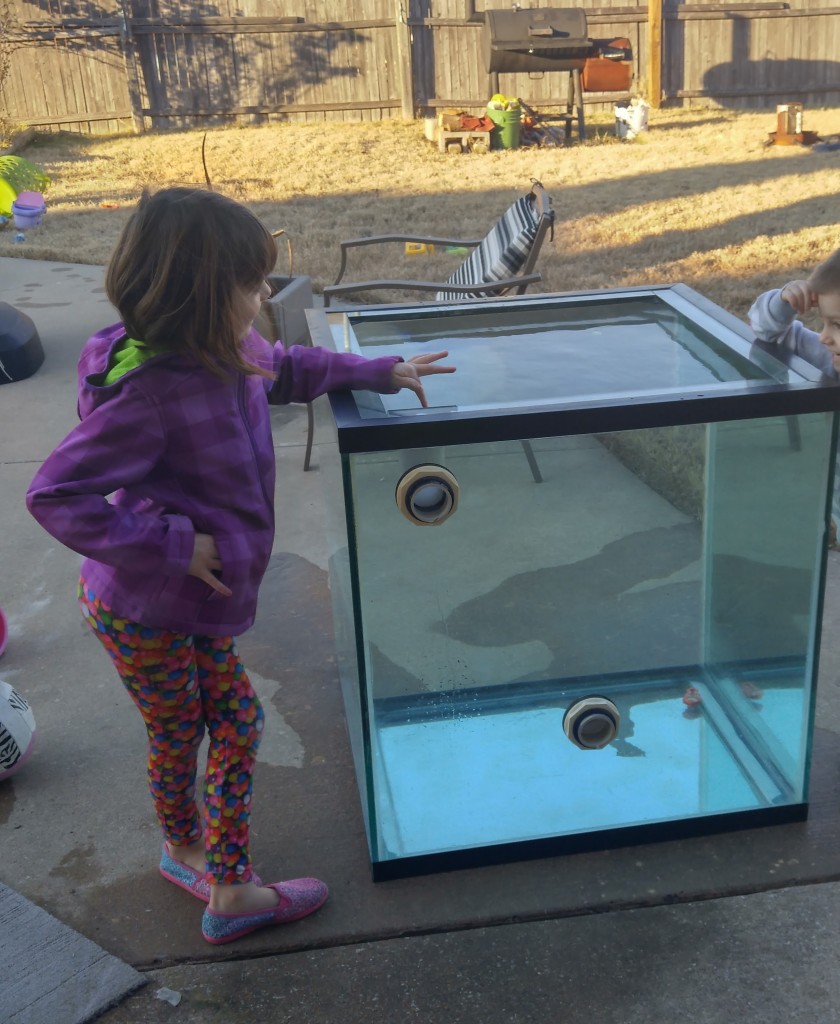
Can’t wait for some of these many little projects to start accumulating into one beautiful display.

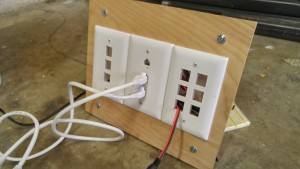
Here’s some quick pics of the minor progress that was made this weekend.

0227161601_HDR0227161928_HDR

Busy Weekend Controller Work

I managed to get a lot done on the aquarium controller this weekend.

Saturday was mostly spent doing an overhaul of the Pi and Arduino code. My initial code was all very static which made it difficult to add new inputs/outputs. I spent a fair amount of time converting these values into arrays and making their associated functions more generic. I still need to modify the code some so that I can name the outputs using the ini file, but for the most part, I think it’s done.

I was able to get the main relay box built. It’s working well and I’m quite proud of myself for squeezing the relay board and all the wiring into such a small box.

Next I got the temperature probe working. I’m using a DS18B20 1-wire temperature probe. The Arduino is configured to take a measurement every 4 seconds, although I only make adjustments every 10. The idea is to have most of the Arduino’s time spent communicating with the Pi and only making IO changes every so often.

Lastly, I started building the box for the Controller to live in. I mounted the face plates for the IO to the back of the box and I have the two controller boards mounted to a sub-floor. The last task will be to put the sides on the box and a cover. I haven’t decided if I’m going to use plywood for the cover, or acrylic. I’m not sure if I want to be able to see all the flashing lights inside the box.

My son woke up from his nap and wanted to help. I put him in the supervisor role and provided him the proper FATHERĀ approved ear protection.

0221161724_HDR0221161724a_HDR0221161724b_HDR0221161606_HDR

Design Phase

I’m only 3 days into this build and it’s already been somewhat overwhelming. I have plenty equipment to choose from, but making it all fit in the stand is proving to be interesting. It looks like I’ll end up having to stack my two main pumps with one of them being on a shelf above the other. Hopefully this doesn’t put too much vibrations into the stand and cause extra noise.

I got a price quote for the steel for the stand. $1.20/ft. That’s cheaper than I initially predicted. The coworker helping me build the stand wants to add more braces. Since the braces are 6″ each, that means each one only costs me 60 cents.

My other problem is the lighting. I have 2 different lighting setups at my disposal; neither of which are perfect. I have an IceCap 660-09 ballast with VHO endcaps, but those tend to run hot. I also have 2 very large 8 bulb T5 lights, but they’re 48″ long with the higher wattage ballasts. I only need 24″ T5’s.

I’m currently leaning towards tearing apart one of the T5 fixtures and seeing if I can replace the ballasts with 24″/24w ones. If I can do that, then I can build my own hood with the much shorter bulbs. I should be able to reuse all the end caps and reflectors from the current light housings.

The tank is still holding water in the back yard. It looks like all the seals are still good. It also looks like PetCO currently has their Aragonite sand on sale for nearly half off. I’m tempted to go ahead and go purchase it. If I did the math right, I need 187lbs to fill a 30″x30″ cube 4″ deep.

So far, I’ve only bought a few plumbing supplies to help with the equipment design. Eventually I’ll have to start buying the small bits and pieces to finish the design. I also need to replace a few parts from some of the equipment I have like the RO/DI filters and the PH probe.

Until the next update: Keep your fish swimming!

The Journey Begins

We started our new Reef adventure this weekend by picking up a bunch of used equipment from a coworker. He had pretty much an entire Reef tank setup ready to go minus a stand and plumbing. The tank is a 120 Gallon Cube that is 30″x30″x31″. The stand will be custom built from steel to try and house all the equipment underneath.

I drove over to his house and collected the parts on Saturday. It was a tight fit, but it all managed to fit into our little SUV.


0206161048_HDR

After I got home, it was time to unload, inventory, and test all the equipment. My 5 year old daughter played a huge part in helping me test all the pumps by collecting them and bringing them to me one by one. Some of the pumps didn’t turn on, so I’ll have to take them apart to see why.

Sunday afternoon we managed to get the tank to the backyard for a leak test. The tank itself has been sitting for a year or two and we want to make sure it’s still water tight.

0207161702_HDR

So far, everything is looking good. I woke up this morning and the tank is still full of water.